You finish an evening of drilling, lean back, and the canvas looks wrong. Not wrong like a missed symbol. Wrong like a gravel driveway seen from a low angle. The drills sit at slightly different heights, the light catches a few of them sideways, and the whole picture has a texture it should not have.
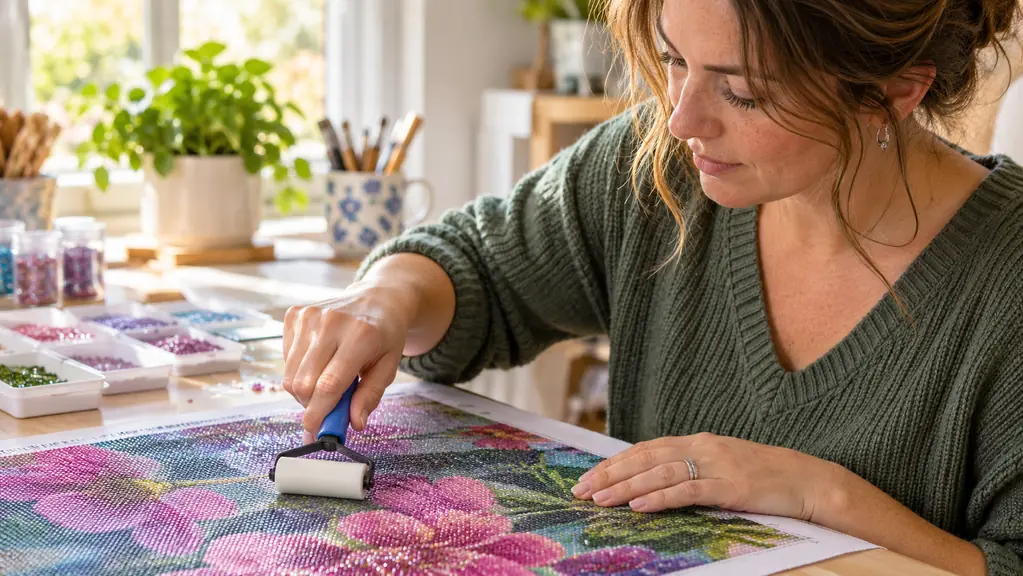
For my first three years I fixed that with the flat of my palm and whatever heavy book was closest. It worked about as well as you would expect. Then I bought the EastyGold roller pressing kit at the same time as a new pen, mostly because it was small and cheap, and it turned a five-minute hand-pressing chore into a thirty-second pass. Here is exactly how I use it, in the order I use it, including the parts I got wrong at first.
The tool that does this job, if you want to skip the heavy-book years
The EastyGold roller kit is small, light, and it lives in my craft drawer next to the trays. Nearly 2,800 people have rated it 4.8 stars, which is roughly the same reaction I had.
Amazon Check Today's Price on Amazon →Why Pressing Matters More Than People Think
A diamond painting is a grid of tiny plastic cylinders glued to a sticky sheet. The glue holds them down, but it does not level them. Each drill sits at whatever angle your pen released it, and if the canvas is going to be framed, sealed, rolled for storage, or stacked under anything, those small differences add up.
There are three things pressing actually does. It seats each drill fully onto the adhesive so nothing rides high. It evens out the ones you placed at a slight tilt. And it pushes the whole field down so the seams between drills stop catching light. A pressed canvas looks like a printed surface from three feet away. An unpressed one looks like a tray of beads under glass.
The other thing it does is protect your work. Drills that sit proud are the ones that catch on a sleeve, a frame edge, or the inside of a storage bag. Those are the ones that pop off. I have not lost a drill off a finished section since I started rolling, and before that I lost two or three per canvas.
Step 1: Finish a Section Before You Roll It
The temptation is to roll as you go, every few drills. Do not. A roller works by pressing down on many drills at once, and it needs a run of them to spread the pressure. Rolling over a half-finished row does nothing useful and it puts your hand on the sticky margin, which is the one part of a canvas you cannot clean.
What I do instead is work in blocks. I pick a region about the size of my hand, fill it completely, then roll it. On a 14 by 14 inch canvas that is maybe six or seven blocks total. It gives me a natural place to stop and stretch my thumb, which matters more at 58 than it used to.
I learned that the hard way on a floral canvas last winter. I was rolling every ten or twelve drills because it felt productive, and by the end of the evening the left third of the picture had a faint smeared look where the pressure had pushed tacky adhesive up between the drills. Nothing was ruined, but that section never sat as clean as the rest of the piece. Now I mark out my blocks first with a fingertip on the clear cover sheet before I peel any of it back, so I know where each boundary sits and I am not guessing halfway through a color change.
The exception is the border. Roll the outer edge last, after everything inside it is done, because the roller needs a little room to start and stop at the canvas edge without hanging off into the air.
Step 2: Set the Roller at the Edge, Not the Middle
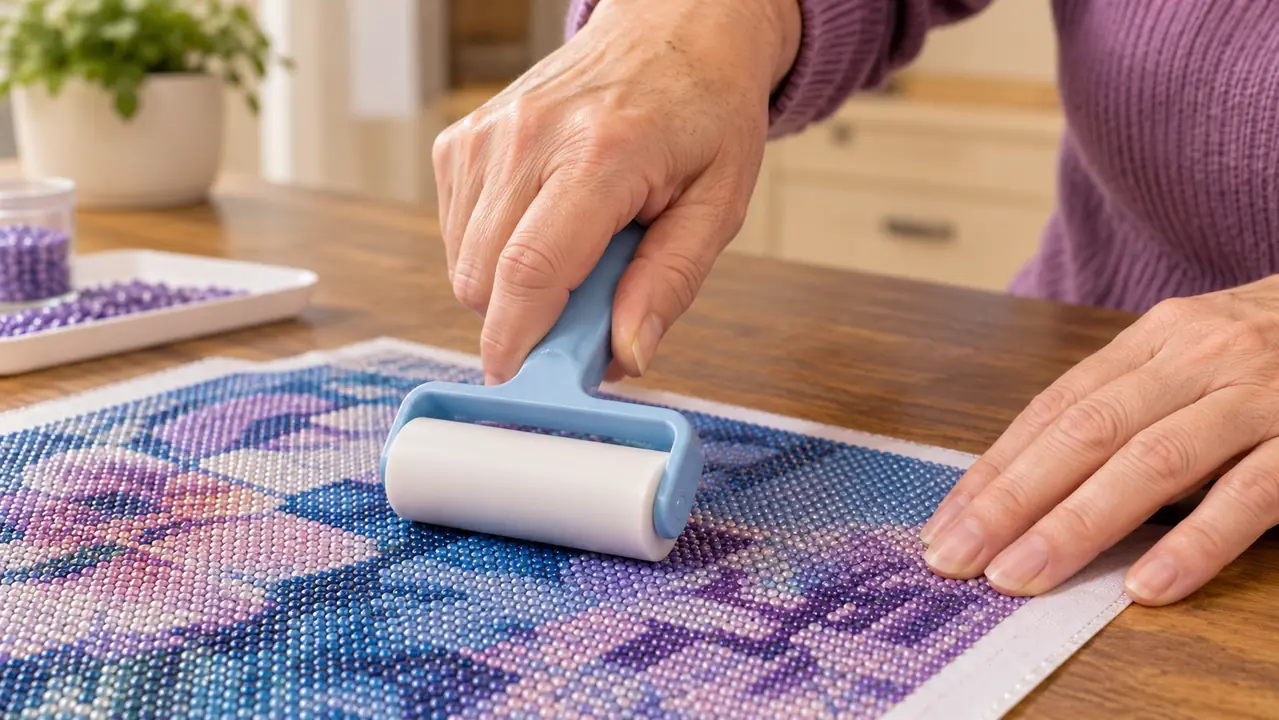
Start at one side of the block and push toward the far side. One direction, steady pressure, and let the roller come off the canvas at the end rather than lifting it. Starting in the middle of a block pushes drills outward in every direction, which is how you end up with a row that has shifted a millimeter and left a sliver of white adhesive showing.
The EastyGold roller's press wheel is a little under four inches wide, so a block of that size takes about three passes side by side. Slight overlap between passes. You want the whole block covered once, not a spot scrubbed five times.
Pressure is the part everyone gets wrong, me included. You are not pushing a heavy cart. You are pressing diamonds into glue. Enough downward weight that you feel the roller resist slightly, then move. If your knuckles go white, back off. The plastic press wheel does the work.
I made the pressure mistake for about three weeks before I understood what was happening. I was leaning my whole forearm into the roller, which felt like doing it properly, and the drills were coming out tilted the opposite way instead of flat. My husband Ray watched me one evening and asked why I was pressing so hard on something that was already sticky. He was right, and I did not enjoy hearing it. The tool weighs about three and a half ounces on its own, and that weight plus a light push is the whole trick. Now I roll from the wrist with barely any arm at all, and the sections come out flatter in half the time.
Step 3: Work in One Direction, Then Cross the Other Way
Once the block is covered going left to right, go back over it top to bottom. That second pass is what flattens the drills that were tilted along the axis you already rolled. One direction only gets you halfway. The cross pass is where the surface actually turns smooth.
Two passes, not ten. After the cross pass, run your fingertips lightly over the section. If it feels like a single flat surface with faint texture, you are done. If you can feel individual drill tops catching, give it one more pass and move on.
This is also the point where you will notice whether your drills are consistently placed. If a section feels bumpy no matter how many times you go over it, the problem is a couple of drills sitting on the edge of a symbol rather than a pressing problem. Reposition those by hand before you seal anything.
The hummingbird wings taught me this one twice over. Feathers run in long thin rows, and rolling along a row feels like the natural motion, but it leaves a faint ridge wherever two rows meet. Rolling across the rows first, then along them, then across once more, took the ridge right out. What I took from that is simple: the second direction is the one that matters, no matter which direction you happened to start with.
The cross pass is what turns a canvas from a tray of beads into a printed surface. One direction only gets you halfway, and most people stop there.
Step 4: Do the Whole Canvas Again at the End
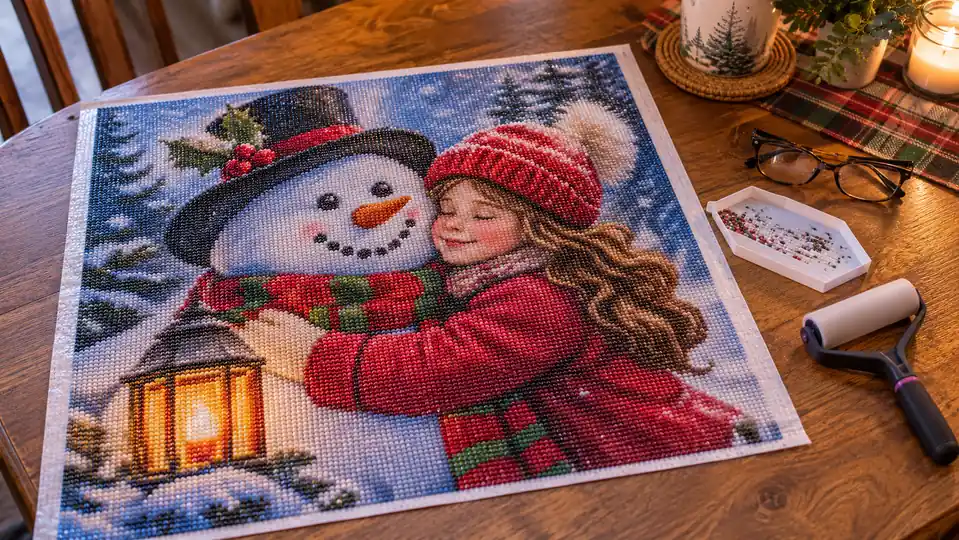
Block pressing is for the surface. A full canvas pass at the end is for the frame. When the last drill is placed, I move the canvas to the kitchen table, because the folding table in my craft corner is not quite wide enough for a 14 inch piece plus elbow room. Then I work the entire thing in a slow grid, overlapping each pass by about half a roller width.
This pass is deliberately slower and lighter than the block passes. The canvas is fully populated now, so you are not trying to seat anything, just level it. Heavy pressure at this stage can push a whole region a fraction sideways and leave the picture visibly skewed against its printed border.
Then I leave it flat for a while. Not because the glue needs to cure, but because the canvas does not want to be rolled up or stood on end immediately. If it is going into a frame, flat is where it should stay until the frame is ready. If it is going into storage, roll it loosely around a tube, drills facing out, never facing in.
On the hummingbird piece I finished this spring, that final pass took me about four minutes. I did it on a Tuesday evening after roughly an hour of drilling the last of the wing feathers, and I remember standing at the kitchen table in what was left of the window light, going over the whole canvas twice because I could not quite believe how much flatter it looked the second time. It went into the frame two days later and hangs in the hallway now. From across the room it reads as a painting, which is the entire point.
Step 5: Check the Edges and the Corners by Eye, Not by Hand
Fingers are a bad judge of edges. Lay the canvas flat and look across it from a low angle, near eye level with the table. Any drill standing noticeably proud will catch the light. This is exactly how the canvas looked the first time I finished a section without pressing it, and it is the fastest way to find the spots you missed.
The corners are the usual suspects. A roller cannot reach a sharp corner cleanly because the wheel has a rounded edge, so the last half inch on each side needs a pass starting from the opposite direction, or a firm press with a clean finger. Do that before sealing, not after.
Do the same low-angle check after the canvas has been sitting flat for an hour. Occasionally a section will settle slightly and one or two drills will ride up. One more light pass fixes it.
Small tool, thirty seconds a section, and no more heavy books on your canvas
If you are still pressing with your palm, this is the single cheapest upgrade in the hobby. It weighs about three and a half ounces, so it does not tire your hand the way a book does.
Amazon See the EastyGold Roller Kit on Amazon →What Else Helps
A roller fixes height. It does not fix placement, lighting, or a canvas that will not lie flat in the first place, and those are the other three things that make a finished piece look unpolished.
Placement is the big one. My ARTDOT A3 light pad does not press anything, but it does mean I can see the symbols on a dark canvas without hunching, and the drills land in the right cell the first time instead of the second. Similarly, the larger grip pen from my Praise V Do kit is what makes a long session possible; the thin stock pens that come in kits leave my right thumb aching within half an hour, and a canvas drilled in discomfort is a canvas drilled unevenly.
The storage side matters more than it sounds. I keep my drills in an ARTDOT 60 slot container rather than baggies, and the way that connects to pressing is simple. When colors are sorted and within reach, you place a drill and move on, and you do not set a tray down on a half-finished section to go hunting for a bag. The one time I knocked two similar greens together across the rug, I spent an entire evening sorting them by hand. I would rather roll a canvas than do that again.
The other thing that helps is a tray with a stopper and a work surface you can keep clean. Grit on the adhesive is invisible until you seal it, and then it shows as a tiny bump under the plastic. I keep a soft brush in the drawer and dust the canvas before the final roll.
If the canvas itself is warped from being shipped rolled, press it flat under a board for an hour or two before you start. Rolling a wavy canvas with the EastyGold roller just levels the drills relative to the wave, which is not the same thing as leveling the piece.
One last thing worth saying plainly: this is not a tool that requires any skill. You push it, you go in two directions, and you stop. The whole job is thirty seconds per section. The reason I wrote any of this down is that I pressed by hand for three years before I understood that the cross pass was doing the real work.