The first diamond painting kit I bought sat on the kitchen table for two days before I opened it. Not because I was afraid of it. Because I could not work out what order to do anything in. There was a tray still sealed in its wrapper, a pen about as thick as a coffee stirrer, a lump of clay, and a canvas covered in symbols so small I had to go upstairs and find my reading glasses. That is the whole barrier to this hobby, by the way. Not difficulty. Order.
That was four years and roughly forty canvases ago. I'm Delia, I'm fifty-eight, I'm a retired school librarian in Knoxville, and I keep a folding table set up in the spare bedroom by a north-facing window. What I have learned since is that diamond painting isn't hard. It is just unforgiving about sequence. Get the order wrong and you lose an evening picking two similar greens apart on a rug. Get it right and it is the most restful hour of your day. The kit I finished most recently, the hummingbird design from SHICERNHJ, is a good one to learn the order on: a 14 x 14 inch full drill canvas that arrives with the canvas, a diamond pen, a tray, solid clay and ten plastic bags.
A 14 x 14 canvas that already has every tool in the box
The SHICERNHJ hummingbird kit is full drill, so every square gets a bead, and the symbols are printed on the canvas so you can work it a section at a time. Canvas, pen, tray, clay, bags. You supply the table and an hour.
Amazon Check Today's Price on Amazon →Step 1: Set up the light before you unwrap anything
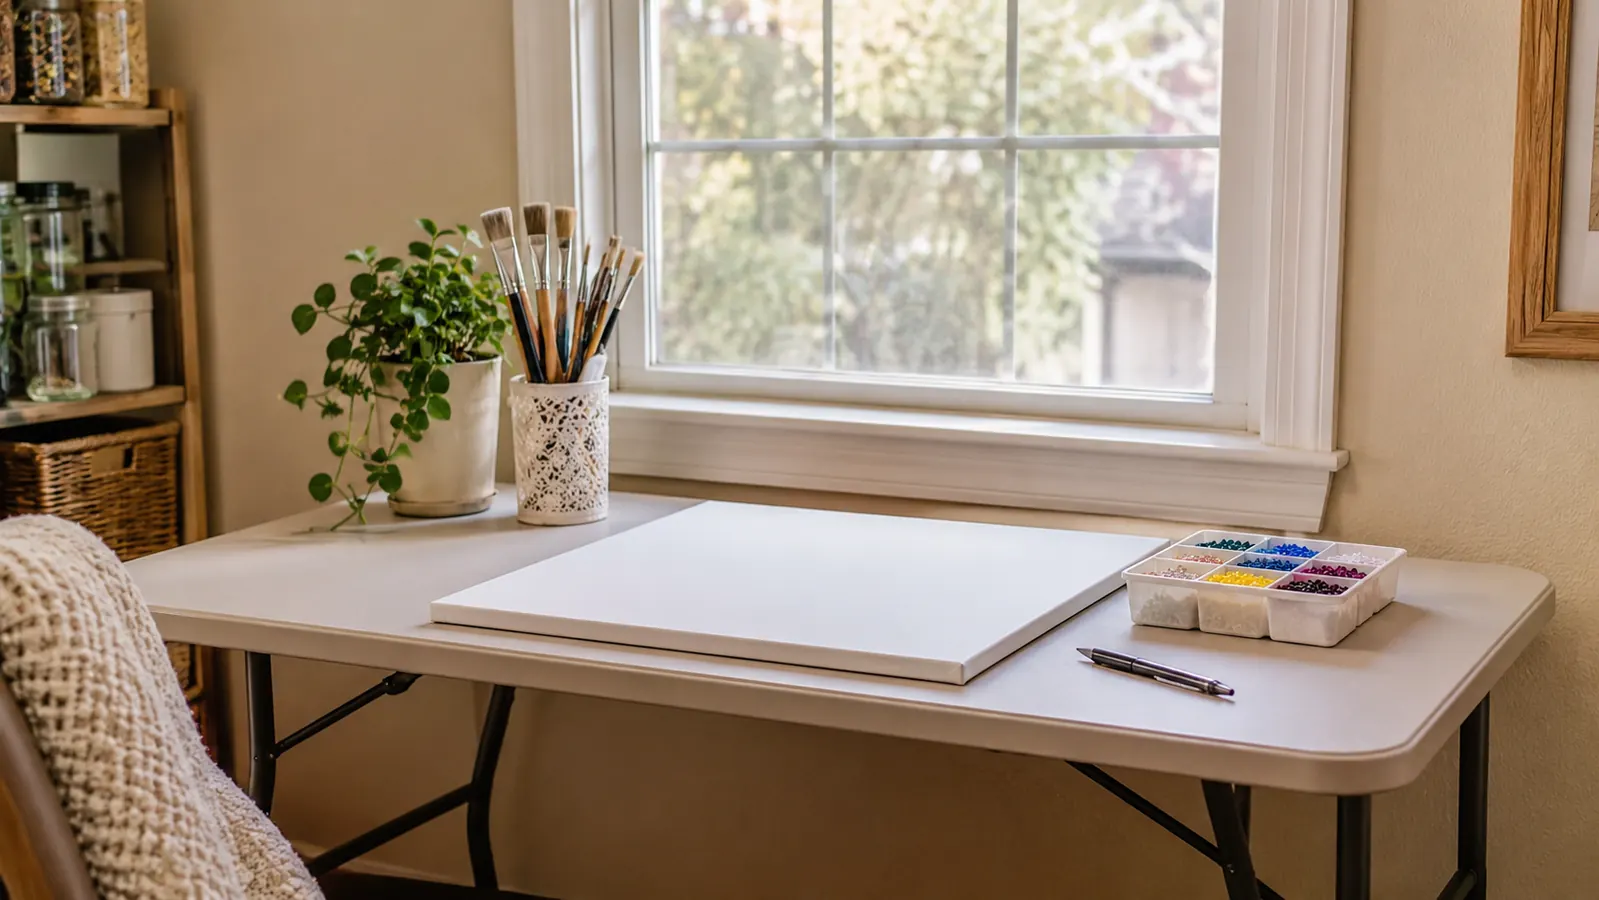
Before you peel anything, set up where you will actually sit. My table lives under a north-facing window and I do most of my drilling in the morning, because that light is even and it does not throw a shadow across the symbols. For my first two years I worked in the evening under the ceiling light with a desk lamp pulled in close. By the end of a session the symbols had gone swimmy and I had a headache behind my eyes. That was the reason I finally bought the ARTDOT A3 LED light pad, about two years into the hobby, and it has sat under every canvas since.
You want the canvas flat, not propped up. I know because I tried it the other way. On my very first kit I leaned the canvas against a cereal box at the back of the table so I would not have to bend forward, and I spent twenty minutes chasing beads off the front edge before I gave up and laid it down. Flat also keeps your shoulders down, and an hour with your shoulders up around your ears is an hour too long. I keep mine flat with the legend at the top edge, the tray within reach on the right, and nothing else on the table. Ray has learned not to put the mail there.
One more thing about size. The 14 x 14 inch hummingbird fits my folding table with room to spare, which was part of why I enjoyed it. Bigger canvases go on the kitchen table and stay there, and by the third week you are negotiating with your household about dinner. A square canvas under two feet is the right size for a first kit.
Step 2: Sort the drills before you place a single one
For about two and a half years I kept my drills in ziplock bags inside a shoebox. It worked right up until it didn't. I was sorting a new kit on the rug in the front room, opened a bag of green, and knocked a second bag of green into it. Two colours, close enough that the difference only showed in daylight, mixed across about a square foot of carpet. I spent an evening on my knees with a tray and a pair of tweezers. I still think about it.
Now I sort every new kit into an ARTDOT 60 slot storage container before I place a single drill. I've had that box about eighteen months and it has earned its place. Each slot gets labelled with the symbol from the legend, not just the drill number, because the symbol is what I am actually reading on the canvas. Sorting takes me maybe forty minutes for a kit this size. It is the least interesting part of the whole project and it is the part that saves you.
The hummingbird had a wide spread of greens and teals, and I sorted those first, one slot at a time, checking each against the printed legend with the light pad underneath. If a kit ever arrives short on a colour I want to know that before I have drilled half the canvas, not after. Why it matters more than it sounds: the symbols on a full drill canvas are small and several of them look alike at a glance. If your drills are in a jumble of bags, you will reach for the nearest similar green and not notice until the section is done. Sorted slots make the wrong drill hard to reach. The ten plastic bags that come in the SHICERNHJ kit get used at the end, for whatever is left over.
Step 3: Read the legend, then work one section at a time
Every kit has a legend that maps each symbol to a drill number. Read it against the actual beads before you commit to a section. On the hummingbird kit I checked the first few symbols against the sorted slots and found everything matched, which is not always true of inexpensive kits. Then I picked a corner and started there, working in blocks rather than wandering around the canvas.
Peel the protective film back a few inches at a time. Not the whole sheet. The adhesive picks up every bit of dust and lint in the room, and once it is dull you will be pressing drills down with your thumb instead of letting the canvas hold them. I peel a strip, work it, peel the next. When I stop for the night I press the film back down over the unfinished area.
Full drill means every square on the canvas gets a bead, including the background. Some kits leave parts of the design undrilled so the printed picture shows through. This one doesn't. That is more work, and it also means the finished piece has no flat patches when the light moves across it. Each drill is cut with 26 facets, and that is why the whole canvas shifts as you walk past it.
I worked mine over about three weeks this past spring, roughly an hour most evenings. Around the second week the wing feathers came together and the bird finally looked like a bird. Before that there is a stretch where you are placing hundreds of beads that all look the same and the picture does not seem to move at all. That is normal, and it is where people quit. Keep going, one block at a time, and let it be slow.
Forty canvases in, the ones that go wrong are never the ones that run short of drills. They are the ones where nothing got sorted and everything got drilled in one sitting.
Step 4: Swap the stock pen for one that fits your hand
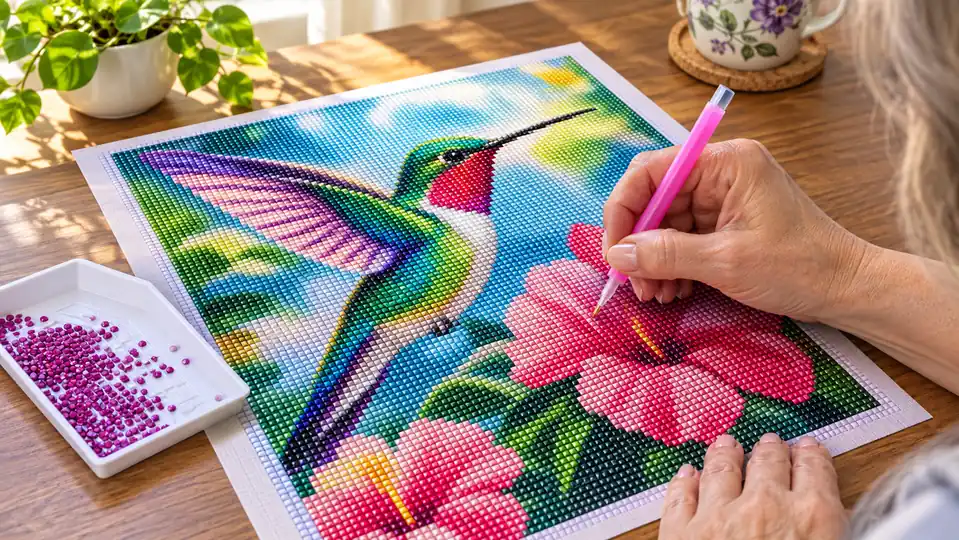
The pen that comes in the kit is a thin plastic one, and it works. It also made my right thumb ache after about half an hour, which for me is not a small complaint. I have mild arthritis in that thumb and a session is an hour. About a year ago I switched to the larger grip pen in the Praise V Do drill pen kit and the ache mostly stopped. The difference is not complicated: a thicker barrel means my thumb and forefinger are not pinched together for the whole hour. I noticed it the first evening, mostly because the session ended and my hand did not need a rest before I could open a jar. I still keep the stock pens in a drawer and use one now and then for awkward spots.
Loading the pen is simple. Press the tip into the clay a few times until it is tacky, then touch it to a drill and it lifts. When it stops picking up, press it into the clay again. Every few rows I wipe the tip on a clean cloth because it collects fuzz. This kit's solid clay block works for that just as well as anything I have bought separately.
The other thing I would tell anyone starting out: place, don't push. A drill set down with a light touch sits flat. A drill shoved down hard can tilt, and a tilted drill catches the light wrong and shows as a bump in the finished canvas. If one goes in crooked, lift it with the pen and set it again.
Step 5: Roll each finished section, then roll the whole thing
For years I finished a section by pressing it flat with the heel of my hand and then laying a heavy book across it. It worked, more or less, and it is why one of my early canvases has a slight bow down the middle. About a year ago, around the same time as the pen, I bought the EastyGold roller pressing kit. Now I roll each section when I stop for the night.
The motion is like rolling out pastry, light and even, working from the middle of the section outward. The first section I ever rolled, I leaned on it too hard and felt the canvas flex underneath. Light pressure is the whole trick. You are seating drills, not flattening the canvas. At the end of the whole piece I roll the entire thing one more time before it goes anywhere near a frame. What this does is seat every drill onto the adhesive at the same level, so the surface is flat instead of a field of tiny high spots.
Storage matters as much as rolling. I keep a finished but unframed canvas flat on a shelf in the craft corner under a clean cloth, never rolled and never stood on end, and I don't store them anywhere hot. The hummingbird sat flat for about a week before I framed it, and it went into a plain frame from a local shop, nothing custom.
What Else Helps
The SHICERNHJ kit ships with more than thirty percent extra drills, which sounds like a line on a listing until you drop a bag. Extra drills are the difference between finishing a canvas and stalling on the last row. The ten plastic bags in the box are for what is left at the end. I label mine with the drill number and keep them in the storage box, because leftover drills from one kit have a way of being exactly what the next kit is short of.
The listing carries a one year warranty, which I would note down somewhere and then forget about, as I do. More useful in practice: check the canvas when it arrives for a crease along the fold, and if there is one, lay it flat under a couple of books for a day before you start. Working a creased canvas is miserable and the crease presses right into the finished piece.
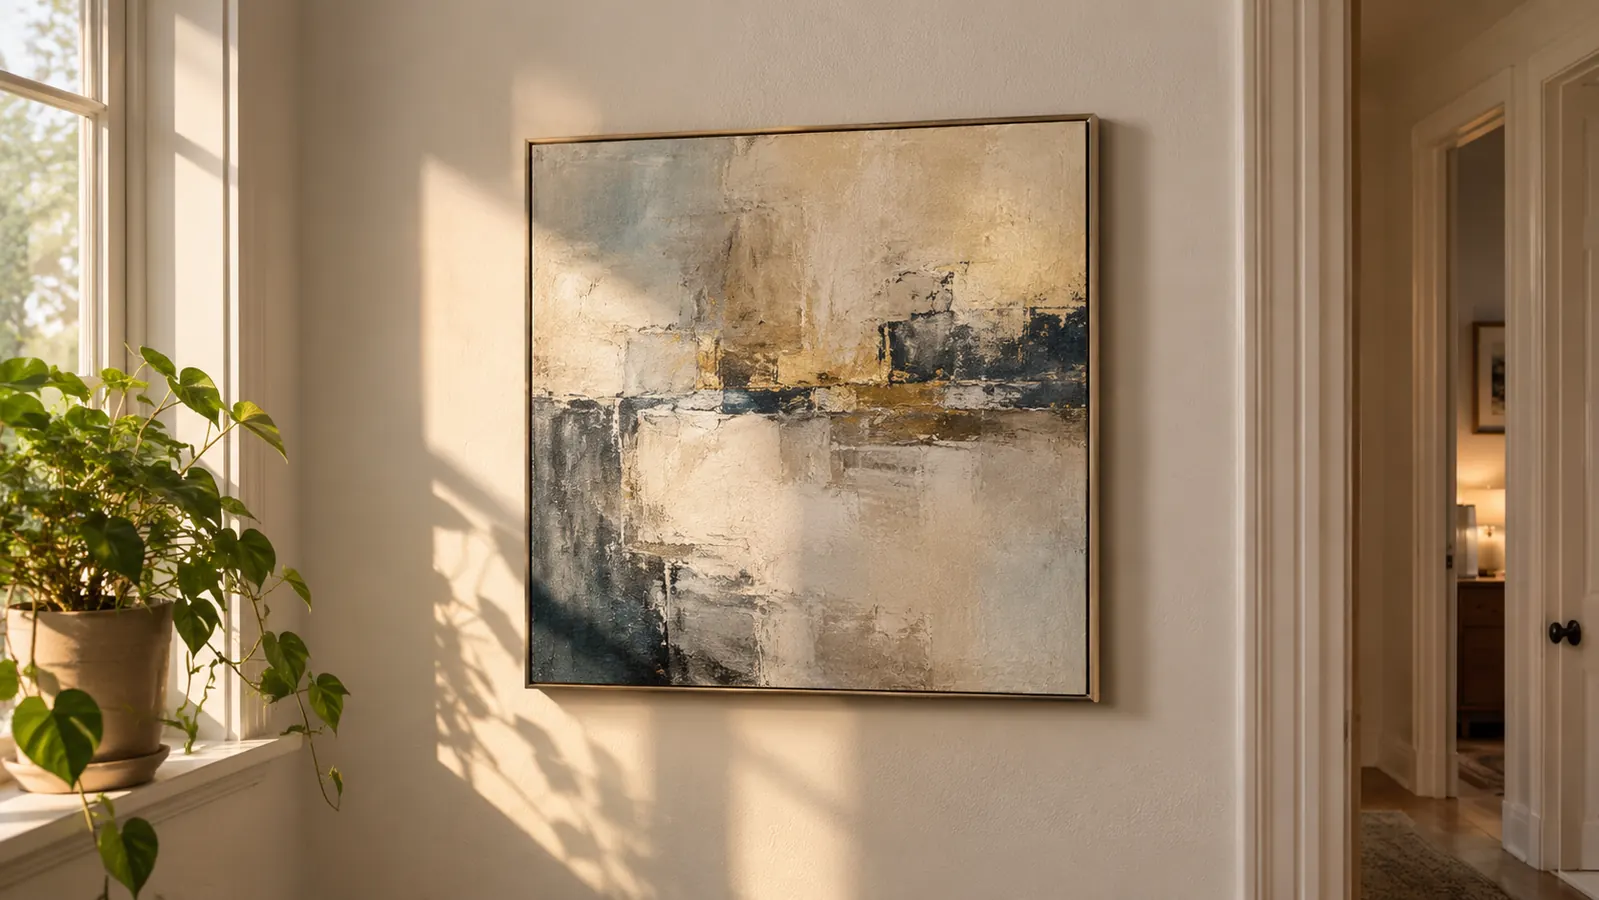
And when it is done, hang it where the light actually hits it. Mine is in the hallway opposite a window, and it changes as the day goes on. That is the reward for three weeks of evenings, and it is a better one than I expected when I first sat down with a shoebox of bags and no idea where to start.
Three weeks of evenings, one framed canvas in the hallway
Full drill, 14 x 14 inches, with the pen, tray, clay and bags already in the box and plenty of spare drills. The hummingbird design is the one I would hand a first-timer.
Amazon Check Today's Price on Amazon →